Taking control of DNS with Pi-hole
With the network baseline documented, the first real change was putting Pi-hole in the DNS path.
DNS is a good first infrastructure project. Almost every device on the network depends on it, so touching it teaches you how the network actually behaves, and the results are easy to see. Before and after, with numbers.
The setup
A single Raspberry Pi running Pi-hole, on a static address, set as the DNS server the router hands out over DHCP. The installer walks you through most of it.
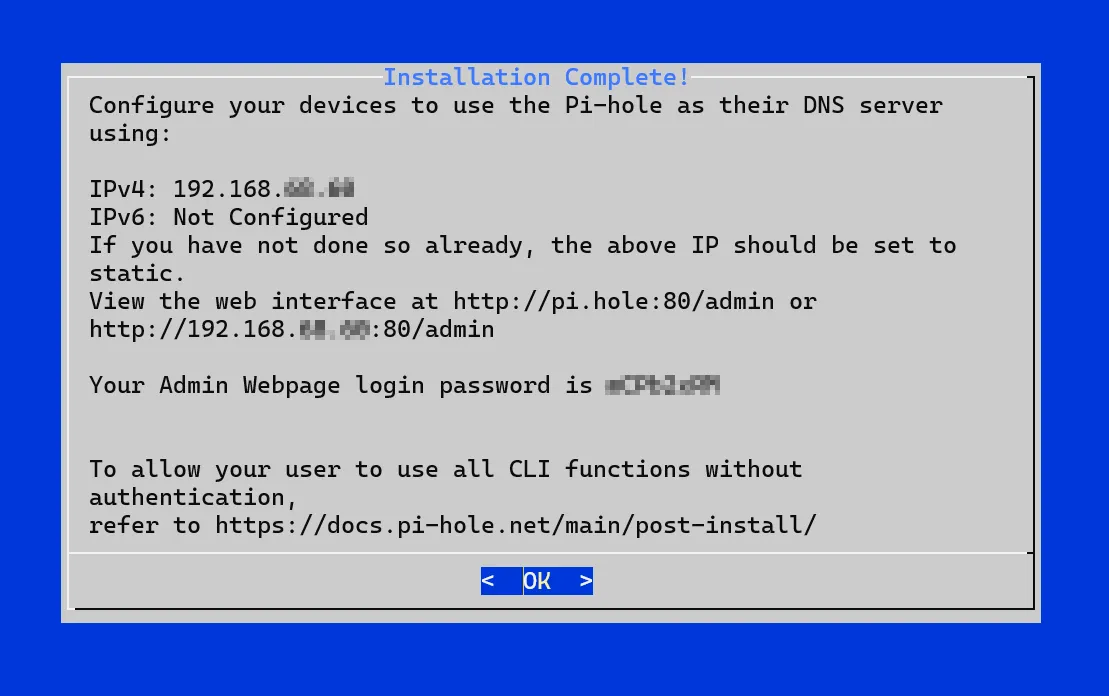
Right after install the dashboard is empty. No queries, no blocklists loaded yet.
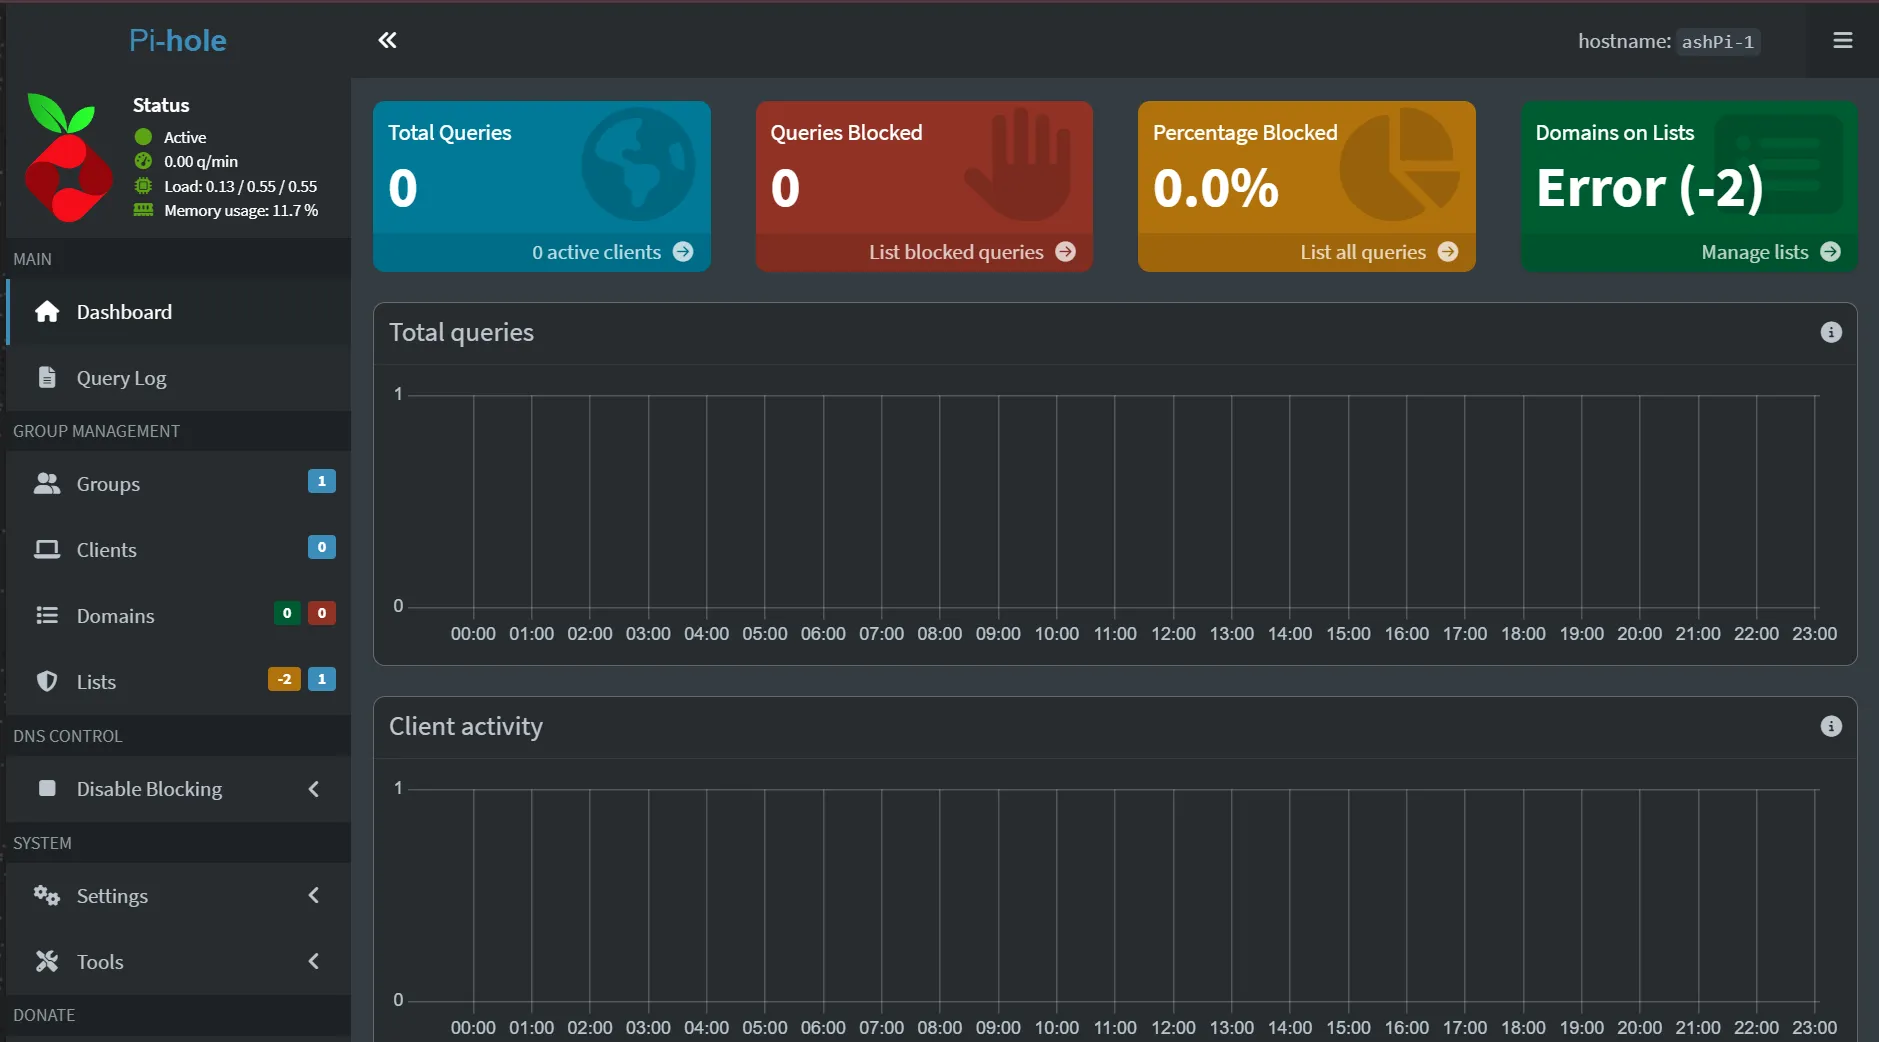
What it looks like with real traffic
Once the router was handing out the Pi as DNS and the blocklists had loaded, the dashboard filled in. This is the part that makes DNS a satisfying first project: you can see exactly what the network is doing.
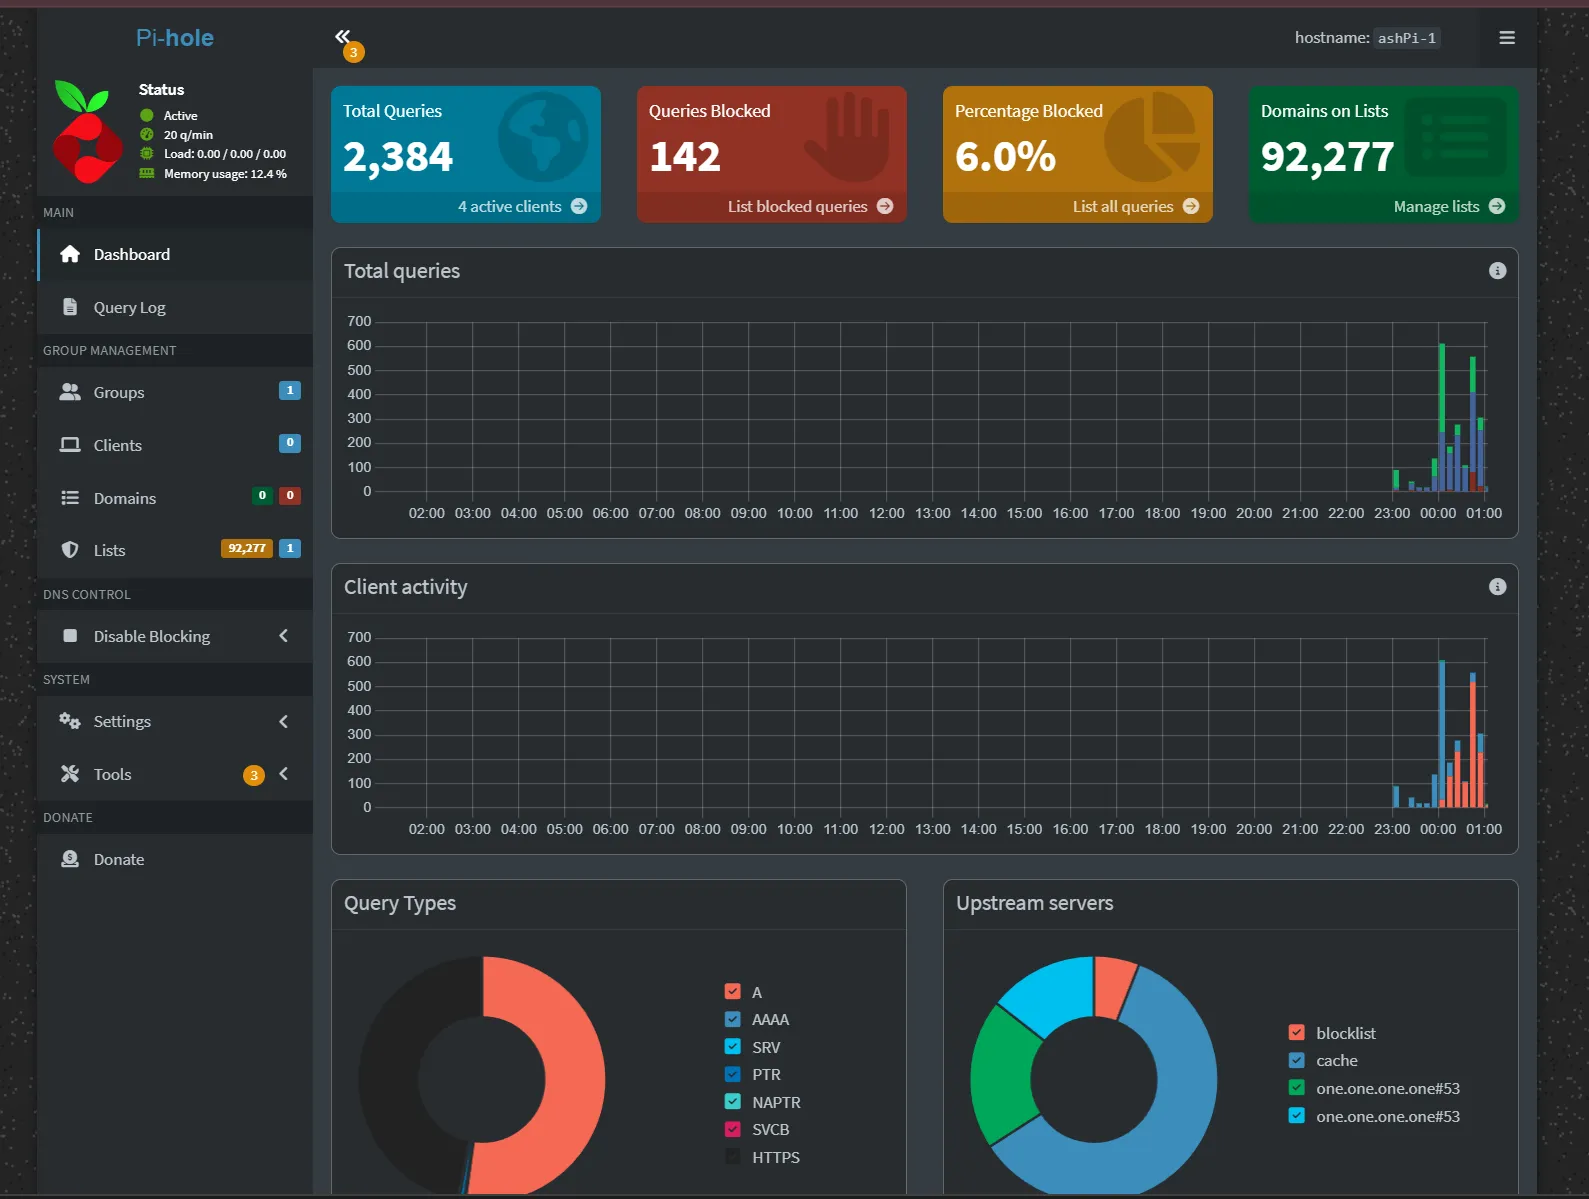
At this stage Pi-hole forwarded to a public resolver (1.1.1.1).
Recursion with Unbound came later, in the HA phase.
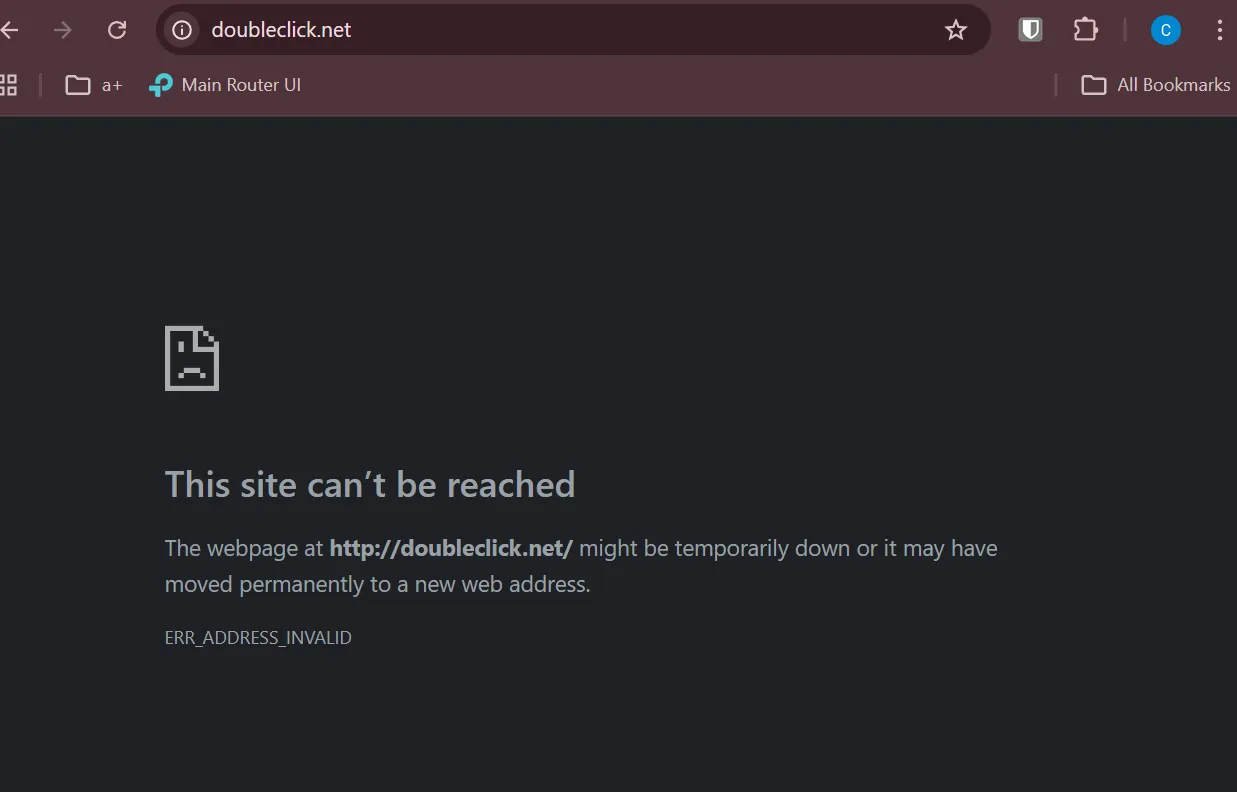
And blocking works the way you’d expect. A request for a known ad domain resolves to nothing.
Why this was worth doing first
Ad blocking is the visible result, but it wasn’t the point. The point was:
- centralised DNS, so every client’s resolution goes through one place I control
- query visibility, so I can see what devices are talking to
- a clean before-and-after to validate against
- a foundation for the HA work, which only makes sense once there’s something worth making highly available
The obvious weakness at this stage is that it’s a single node. If that Pi goes down, DNS goes down for the whole house. That’s what the next phase fixed.